


Last Updated: November 10, 2026
Quick Summary
How to style short hair with a cowlick for beginners means working with the growth pattern instead of against it: start with clean, damp hair, comb it in the direction you want, then blow-dry the cowlick root flat with a concentrator nozzle and lock the shape with the cool shot. Finish with a small amount of firm-hold product pressed into the root, and the routine takes about five to ten minutes once you get the hang of it.
- A cowlick is a section of hair that grows in a different direction from the rest.
- Gather your dryer, brush, clips, product and spray bottle before you start.
- Point the dryer down, start at the cowlick root and hold each section for a few seconds.
- Dry the front section first, while it is wettest, to tame a front hairline cowlick.
- Clamp a flat iron on the cowlick root for no more than two to three seconds.
Table of Contents
- What You'll Need Before You Start
- How to Style a Cowlick Male: Step-by-Step Routine
- Hair Cowlick in Front: Taming the Front Hairline and Bangs
- Cowlick Fringe Male: Working With a Cowlick at the Front
- How to Part Hair with a Cowlick
- Heat Tool Tips and Low-Heat Alternatives for Stubborn Cowlicks
- Troubleshooting by Styling Outcome
- Book a Cut That Works With Your Cowlick
- Frequently Asked Questions
What You'll Need Before You Start
Learning how to style short hair with a cowlick for beginners starts with the right setup. A cowlick is a section of hair that grows in a different direction from the rest, which makes it stand up or pull away from the hairline no matter how you comb it. A cowlick is easier to manage when you work with its growth pattern rather than against it.
Below, we will show you exactly how to redirect a cowlick with heat, product, and a little patience. The routine takes about five to ten minutes once you get the hang of it.
Here is what you need on the counter before you start:
- A hair dryer with a concentrator nozzle
- A vent brush or round brush
- Sectioning clips
- A firm-hold styling product
- A water spray bottle
Gather everything first. Fumbling for a brush mid-blow-dry is how cowlicks win.
How to Style a Cowlick Male: Step-by-Step Routine
This is the core routine for men dealing with a cowlick. Work through the three steps in order, and do not skip the drying stage. Most beginners rush straight to product, and that is the single most common mistake we see.
Step 1: Start with Clean, Towel-Dried Hair
Wash your hair, then towel it until it is damp, not dripping. A cowlick behaves best when hair is slightly wet because the cuticle is more flexible. Comb everything in the direction you want it to sit, not the direction it naturally falls. This first comb sets the tone for everything after.
Step 2: Blow-Dry in the Direction You Want the Hair to Go
Point the dryer down and follow the brush. Start at the root of the cowlick and pull the hair away from the crown or hairline, holding each section for a few seconds. Heat sets the shape; the cool shot locks it in. Work in small sections and clip the rest out of the way.
Step 3: Apply Product to Redirect and Hold the Cowlick
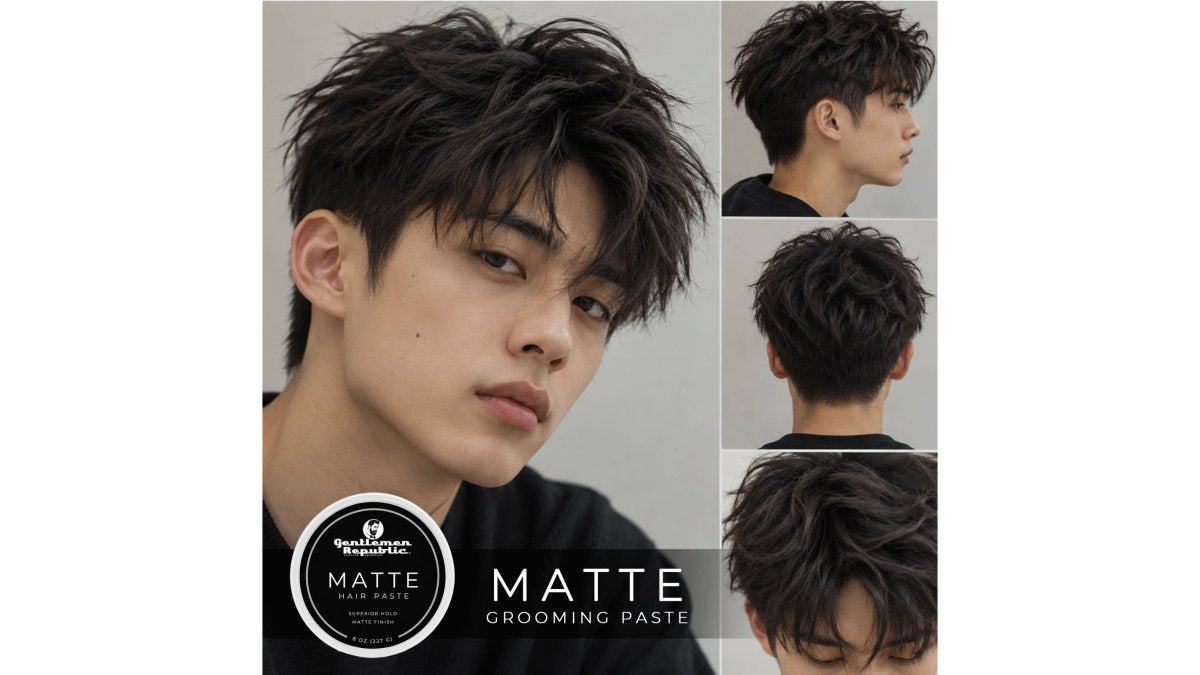
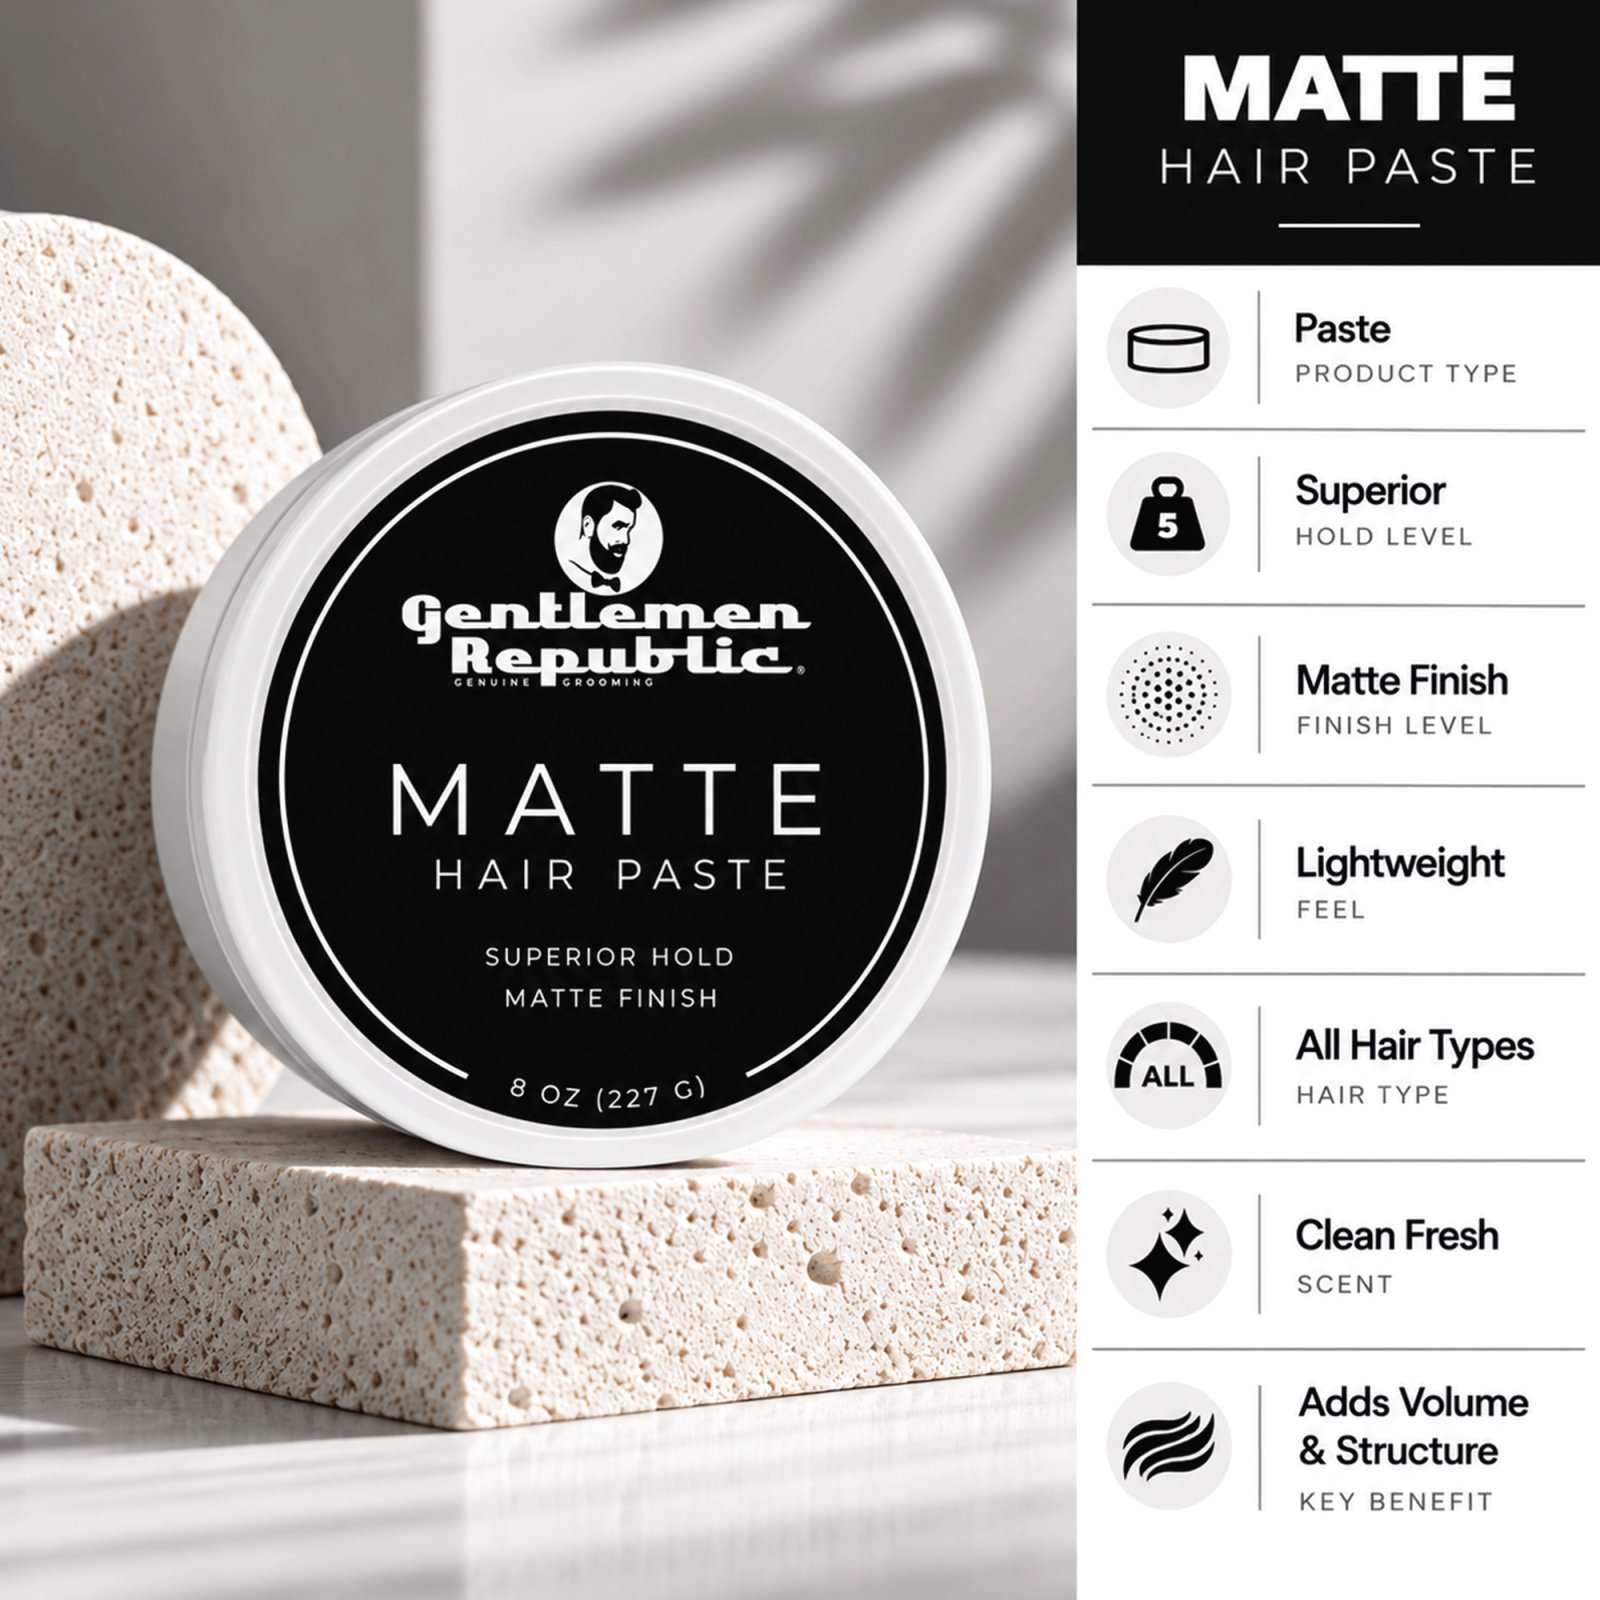
Warm a small amount of product between your palms and work it from back to front. For a natural matte finish with hold, our Matte Hair Paste is designed for all hair types. If you need a stronger grip on a stubborn section, our Refined Hair Gel offers hard hold and high shine. Not sure which to choose? Read our breakdown of matte paste versus pomade before you buy.


Press the cowlick flat with your palm, then shape the rest of the hair. Do not overload the roots or the hair will look greasy by mid-afternoon.
Hair Cowlick in Front: Taming the Front Hairline and Bangs
A cowlick at the front hairline is the most visible kind, and it is the one that makes bangs stick straight up. The fix is to dry the front section first, while it is wettest. Pull the bangs forward and slightly across your forehead, then hold the heat on the root for a few seconds.
If the cowlick keeps springing back, try a slightly off-center part. Moving the part a centimeter to either side often lands the cowlick on the heavier side of the hair, where the weight holds it down. A small amount of paste on the fingertips, pressed into the root, finishes the job.
Cowlick Fringe Male: Working With a Cowlick at the Front
A cowlick fringe works best when you stop trying to flatten it and start using it. Many men find that a textured, slightly tousled fringe hides a front cowlick better than a slicked-down one. Rough-dry the fringe with your fingers, push it forward, then pinch small sections for texture.
A lightweight texturizing spray helps here. It adds grip without weight, so the fringe stays where you put it. Keep the product off the scalp and focus it on the mid-lengths and ends.
How to Part Hair with a Cowlick
Parting with a cowlick comes down to one rule: let the cowlick decide the part line. Run a comb through damp hair and watch where the hair naturally separates. That gap is your part. Forcing a part against the growth direction means a fight every single morning.
- Comb the hair forward, then push it side to side
- Note where it splits on its own
- Set the part there with a comb
- Dry the part line first to lock it in
If the natural split sits too far to one side, a center part often balances a cowlick at the crown. Dry each side away from the part line so the hair lies flat.
Heat Tool Tips and Low-Heat Alternatives for Stubborn Cowlicks
A straightener or curling iron can flatten a stubborn cowlick, but short hair shows heat damage fast. The ends are closer to the root, so a single scorched section is visible until your next cut.
Use this as a starting point and adjust downward if you see steam, hear sizzling, or smell a burnt odor:
- Fine, thin, or color-treated hair: 250-300°F on a flat iron or hot brush
- Medium, straight-to-wavy hair: 300-350°F
- Thick, coarse, or curly hair: 350-400°F, and only after a heat-protectant
Apply a heat-protectant spray or serum before any hot tool touches your hair. Most drugstore heat protectants are labeled with a temperature rating; match it to your iron setting.
Technique matters as much as temperature. Clamp the iron on the cowlick root for no more than two to three seconds, then pull through in one smooth pass. Never hold the iron stationary on one spot.
Watch out: clamping a hot iron on a cowlick root and holding it there will crease the hair and can leave a visible kink that lasts until your next cut.
For a lower-heat approach, section the hair with clips and let a strong-hold product do the work while the hair air-dries. Sectioning clips such as our Hair Clip Set can keep each section in place while it dries.

If you want to skip heat entirely, try this sequence: comb the cowlick in the direction you want while the hair is damp, clip it flat against the head, and leave the clips in for 10-15 minutes while you dress or eat breakfast.
A blow-dryer with a concentrator nozzle is still the safest hot tool for a cowlick because you control the airflow direction. Keep the dryer moving, hold it 6-8 inches from the scalp, and use the medium heat setting rather than high.
Match your heat setting to your hair texture before you touch the iron.
| Hair type | Temperature | Note |
|---|---|---|
| Fine, thin, or color-treated | 250-300°F | Flat iron or hot brush |
| Medium, straight-to-wavy | 300-350°F | Adjust downward if you see steam |
| Thick, coarse, or curly | 350-400°F | Only after a heat-protectant |
Temperature
Troubleshooting by Styling Outcome
Most cowlick problems fall into a handful of patterns. Match your outcome to the fix below, and change one variable at a time so you can tell what worked.
Cowlick still sticking up after styling. The root is not dry enough, or you dried it in the wrong direction.
Hair looks greasy by lunch. You used too much product at the roots. Start with a pea-sized amount for short hair and add more only if you need it. Apply product to the mid-lengths and ends first, then press the leftover residue into the cowlick root last.
Cowlick reappears by mid-afternoon. Your product has too little hold for your hair type, or you skipped the cool-shot step. Fine hair needs a lighter product with flexible hold; thick, coarse hair needs a firmer one.
The style looks flat and lifeless. You flattened the cowlick but also flattened everything else. Add texture back by pinching small sections with your fingers and a light texturizing spray rather than more paste.
Bangs separate or split in the middle. A front cowlick often pushes bangs apart at the point where the growth direction changes. Dry the bangs forward and slightly across the forehead, then cross them over with the brush as they dry.
The cowlick looks worse after a haircut. A new cut can expose a growth pattern that was previously weighed down by length.
Scalp is flaky or itchy after styling. Product buildup at the root is the usual cause. Wash with a clarifying shampoo once a week, and keep paste and gel off the scalp itself.
Book a Cut That Works With Your Cowlick
The best styling routine cannot fix a cut that fights your growth pattern. Tell your barber where the cowlick sits and which direction it grows. A good barber will leave extra length on the heavy side, texturize the stubborn section, and place the part where the hair wants to fall.
For the full picture on cuts, products, and daily routines, our men's hair styling guide covers everything in one place. Short styles like a textured crop or a longer fringe handle a cowlick far better than a tight buzz cut, which exposes the growth pattern with nowhere to hide.
A cowlick does not have to run your morning. With the right dry-down, a firm-hold product, and a cut that respects your growth pattern, short hair stays sharp all day. Gentlemen Republic builds professional-grade styling products with clean, responsible ingredients and real barbering knowledge behind every formula, so your routine delivers dependable results. Get started with Gentlemen Republic and take control of your cowlick for good.
Frequently Asked Questions
How do you deal with a cowlick in short hair?
Start by blow-drying the cowlick in the direction you want it to sit while the hair is damp. Use a round brush to lift the root and direct the section away from the cowlick's natural swirl. Apply a firm-hold product like a matte paste to lock the shape, then finish with a light mist of sea salt spray for texture. If the cowlick keeps popping up, adjust your part to work with the growth pattern rather than against it.
Should you blow-dry a cowlick up, down, or to the side?
Blow-dry the cowlick in the direction you want the finished style to go, not straight up or down by default. For a front cowlick, aim the dryer down and to the side you plan to wear the hair. For a crown cowlick, lift the root with a brush and direct air away from the swirl. Keep the dryer moving and use medium heat so you do not burn the scalp or over-dry the strands.
What products help hold short hair in place around a cowlick?
A firm-hold, water-based product gives you control without stiffness. Gentlemen Republic Matte Hair Paste ($22.00) offers an 8/10 hold and a matte finish, and is listed for all hair types. For added volume and texture before styling, a sea salt spray like Gentlemen Republic Sea Salt Spray ($24.00) creates grip at the root. Apply a small amount of paste after blow-drying, pressing the cowlick flat or shaping it into place.
Can a barber cut short hair to make a cowlick easier to style?
Yes. A barber can cut around the cowlick's growth pattern, leaving enough length to weigh it down or texturizing the ends so the hair lies flatter. Tell your barber where the cowlick sits and how you usually part your hair. They can adjust the fringe, crown, or sides to work with the swirl instead of fighting it. Regular trims every four to six weeks keep the shape manageable between appointments.


Share:
7 Patricks Alternatives Barbers Actually Keep on the Station